Shop our best deals online.
Shop Now
How Long Does Flooring Installation Take From Start to Finish
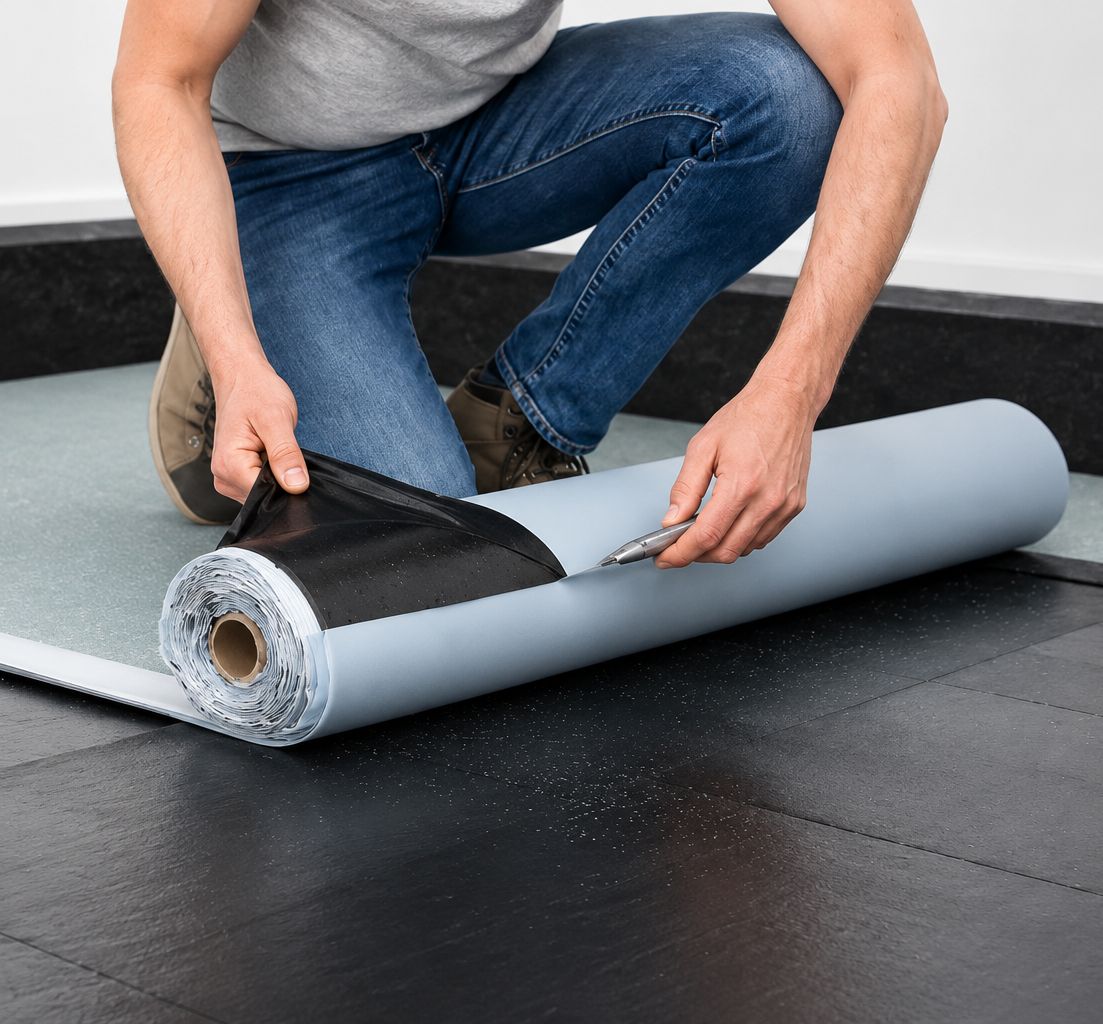
Table of Contents
- 1 Why Flooring Installation Timelines Vary So Widely
- 2 The Phases of Any Flooring Installation
- 3 Realistic Timelines by Floor Type
- 4 Luxury Vinyl Plank Installation Timeline
- 5 Laminate Flooring Installation Timeline
- 6 Hardwood Flooring Installation Timeline
- 7 Flooring Installation Materials That Affect Timeline
- 8 What Adds Unexpected Time to a Flooring Installation
- 9 Planning Your Installation Project Realistically
- 10 Plan the Time Right and the Floor Will Follow
- 11 Frequently Asked Questions
- 11.1 Q: How long does flooring installation take for a single room?
- 11.2 Q: Why does hardwood flooring installation take longer than vinyl or laminate?
- 11.3 Q: What flooring installation materials affect how long the project takes?
- 11.4 Q: Can I speed up acclimation time for hardwood flooring installation?
- 11.5 Q: How long after installation of the floor can I move furniture back?
Understanding how long does flooring installation take is one of the first practical questions any homeowner or contractor should answer before starting a project. The answer depends on far more than the square footage of the room. Floor type, subfloor condition, installation method, acclimation requirements, and the experience level of the installer all contribute to the total time from clearing the room to walking on the finished floor. This guide breaks down realistic timelines for every major floor type, explains what adds time to the process, and helps you plan your project from the first preparation step to the final trim installation.
Why Flooring Installation Timelines Vary So Widely
Many homeowners are surprised to find that two rooms of similar size can have very different installation timelines depending on the materials and conditions involved. A 300-square-foot living room being fitted with floating LVP over a clean concrete slab might be completed in a single day. The same room receiving nail-down solid hardwood over a plywood subfloor that needs leveling and sanding might take three to four days including acclimation.
The variables that most significantly affect total installation time are preparation work, acclimation, installation method, curing time for adhesives, and the complexity of the layout.
The Phases of Any Flooring Installation
Every successful installation of the floor goes through the same general phases. Understanding each one helps set accurate expectations for the total project duration.
Phase 1: Preparation
Preparation is the foundation of every installation and the phase most likely to be underestimated in time. It includes removing existing flooring, inspecting and repairing the subfloor, leveling low spots, grinding down high spots, cleaning the surface, and conducting moisture testing where required.
On a straightforward project with a clean plywood subfloor in good condition, preparation might take a few hours. On a project involving removal of old glued-down vinyl or tile, treatment of a high-moisture concrete slab, or significant leveling work, preparation can take a full day or more before any new flooring material is touched.
Subfloor moisture testing alone requires time. A calcium chloride test for concrete takes 60 to 72 hours from placement to reading. If results come back too high and a sealer needs to be applied, the sealer requires additional curing time before installation can begin. Never rush the preparation phase. A floor installed over an inadequately prepared subfloor develops problems that cost far more to fix than the time saved would have been worth.
Phase 2: Acclimation
Acclimation is a mandatory waiting period specific to wood-based flooring materials. It applies to solid hardwood, engineered hardwood, bamboo, and some laminate products. Acclimation allows the flooring planks to reach equilibrium moisture content with the installation environment before they are locked together.
This waiting period is built into the project timeline and cannot be shortened without risking post-installation problems including gaps, buckling, and joint stress. During acclimation, planks are opened from their packaging and laid out in the installation room with the HVAC system running at normal occupancy conditions.
Phase 3: Installation
The actual installation of the floor is typically the phase that moves fastest, especially for experienced installers. Row-by-row progress across a room feels visible and satisfying compared to the less dramatic preparation work that precedes it. However, the speed of installation varies significantly by floor type, room shape, and installation method.
Phase 4: Curing and Settling
Some installation methods require a curing or settling period after the last plank is placed before the floor can be walked on or furniture can be moved back. Glue-down installations in particular require the adhesive to cure fully before heavy items are placed on the floor. Floating installations generally allow immediate use but benefit from 24 hours of settling before furniture is moved back.
Realistic Timelines by Floor Type
| Floor Type | Acclimation Time | Installation (Per 200-300 sq ft) | Curing/Settling | Total Project Time |
| Luxury Vinyl Plank (floating) | None required | 4 to 8 hours | 24 hours (light use) | 1 to 2 days |
| Laminate (floating) | 48 to 72 hours | 4 to 8 hours | 24 hours | 3 to 4 days |
| Engineered Hardwood (floating) | 48 to 72 hours | 6 to 10 hours | 24 hours | 3 to 5 days |
| Engineered Hardwood (glue-down) | 48 to 72 hours | 8 to 12 hours | 24 to 48 hours adhesive cure | 4 to 6 days |
| Solid Hardwood (nail-down) | 5 to 14 days | 8 to 16 hours | 24 hours | 7 to 16 days |
| Tile (mortar set) | None required | 1 to 2 days | 24 to 48 hours mortar, 24 to 72 hours grout | 3 to 6 days |
| Carpet | None required | 3 to 6 hours | Immediate | 1 day |
These ranges assume a single room of 200 to 300 square feet in good subfloor condition. Larger areas, more complex layouts, or subfloor work add time proportionally.
Luxury Vinyl Plank Installation Timeline
Why LVP Is the Fastest Hard Surface Option
Luxury vinyl plank flooring does not require acclimation before installation. Its PVC core does not respond to humidity changes the way wood-based products do, so planks can go from the delivery truck to the floor in the same visit.
Preparation still matters. The subfloor needs to be clean, level, and moisture-tested if over concrete. But assuming those conditions are met, a 300-square-foot floating LVP installation can be completed in half a day to a full day by an experienced installer.
The floating click-lock system most LVP products use is also one of the fastest to execute. Planks snap together quickly and do not require adhesive spread time, nail gun loading, or mortar mixing.
For basements or rooms over concrete, installing the moisture barrier underlayment adds a step but typically only 30 to 60 minutes of additional preparation time. See How to Install LVP Over Concrete Without Ruining Your Underlayment for a complete step-by-step guide.
Laminate Flooring Installation Timeline
Acclimation Is Non-Negotiable
Laminate flooring requires 48 to 72 hours of acclimation in the installation room before work begins. This is the primary factor that extends the laminate installation timeline beyond a single day. Skipping acclimation with laminate carries a real risk of post-installation buckling or joint separation as the HDF core adjusts to the room’s humidity after the floor is locked together.
Once acclimation is complete, the actual installation of the floor with laminate is similar in pace to LVP. The click-lock floating system is DIY-friendly and moves quickly. A 300-square-foot room typically takes half a day to a full day of active installation time.
For subfloor preparation guidance that applies specifically to laminate, read How to Prepare Subfloor for Laminate in Moisture-Prone Areas.
Hardwood Flooring Installation Timeline
Solid Hardwood Requires the Most Time
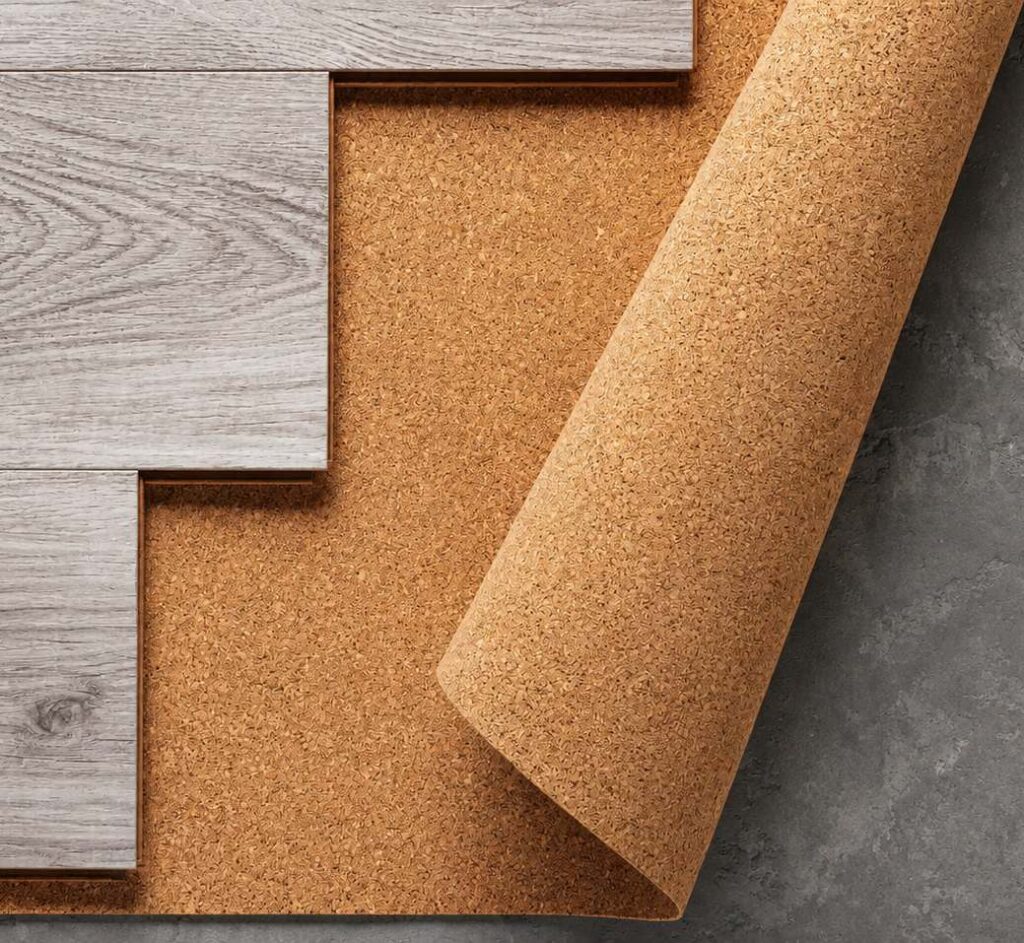
Solid hardwood flooring installation is the most time-intensive residential flooring project. All types of hardwood, whether solid or engineered, are not waterproof, which is why moisture testing and proper vapor barrier selection must be completed before any acclimation or installation begins. The extended acclimation requirement of 5 to 14 days is the primary reason the total project timeline is so much longer than other floor types.
The nail-down installation method used for most solid hardwood on plywood subfloors is also more labor-intensive than floating systems. A flooring nailer or cleat stapler is used to fasten each plank to the subfloor at regular intervals. The process is methodical and satisfying but moves more slowly than click-lock installation.
Cutting around door frames, thresholds, and irregular room shapes adds additional time. A 300-square-foot room with a standard rectangular layout might take 8 to 10 hours of active installation. A room with multiple doorways, alcoves, or intricate border work could take twice as long.
Total project time for solid hardwood from delivery to walking on the finished floor is typically 7 to 16 days depending on acclimation requirements, subfloor preparation needs, and room complexity.
Engineered Hardwood Installation Time
Engineered hardwood flooring installation moves faster than solid hardwood in two important ways. First, acclimation is shorter at 48 to 72 hours for most products, extended to 5 to 7 days in high-humidity environments. Second, floating installation using click-lock systems is an option for most engineered products, making DIY installation more accessible and faster than nail-down methods.
For glue-down engineered hardwood installations, adhesive spread time and the curing period add to the project timeline. The floor typically needs 24 to 48 hours of cure time before heavy furniture or appliances can be placed back on it. Plan for a 4 to 6 day total project timeline for glue-down engineered hardwood in typical conditions.
For a step-by-step engineered hardwood installation guide, see How to Lay Engineered Hardwood Flooring. And because acclimation is critical to timeline accuracy, read Why Does Engineered Hardwood Need to Acclimate before scheduling the project start date.
Flooring Installation Materials That Affect Timeline
Underlayment and Moisture Barriers
The time required to install underlayment and moisture barriers is often underestimated in project scheduling. Rolling out, cutting, overlapping seams correctly, and taping a 300-square-foot room adds 30 to 60 minutes of work before the first plank is placed. In larger rooms or where multiple barrier layers are required, this step takes correspondingly longer.
Choosing the right underlayment from the start avoids delays from having to lift the floor and reinstall a product that was inadequate for the subfloor conditions. Browse the full range of installation materials including underlayments, moisture barriers, adhesives, and transition strips at Flooring Outlet & More to find the right products for your specific subfloor and floor type.
Transition Strips and Trim
Installing transition strips at doorways and quarter-round or baseboard molding around the perimeter of the room adds time that most project timelines do not account for adequately. For a single room with one doorway and standard perimeter trim, this finishing phase takes 1 to 2 hours. For a full home installation across multiple rooms with many doorways, transitions, and complex perimeter shapes, finishing work can take most of a day.
Adhesives and Curing
Glue-down installation requires spreading adhesive with a notched trowel before each section of planks is placed. This adds significant time to the active installation phase. It also creates a mandatory curing window before the room can return to normal use. Factor 24 to 48 hours of post-installation time into any project that uses a flooring adhesive.
What Adds Unexpected Time to a Flooring Installation
Several factors consistently cause projects to run longer than initially planned.
Subfloor surprises are the most common source of unexpected delays. Hidden water damage, soft spots, or old adhesive residue discovered during preparation add time that was not in the original schedule. Always allow a half-day buffer in any installation timeline for subfloor work.
Furniture removal and reinstallation is time that is easy to overlook. Removing all furniture from a room before installation and returning it after takes longer than most people expect, particularly for large pieces that require disassembly.
Pattern layouts or diagonal installations take significantly longer than standard straight-run installations. Diagonal flooring requires cutting more pieces at angles, which slows progress and generates more waste.
Multiple rooms with many transitions multiply the time required for planning seams between rooms, cutting pieces to size at each threshold, and installing transition hardware.
Planning Your Installation Project Realistically
The most common planning mistake is scheduling the project for the weekend immediately after the flooring is delivered, without accounting for acclimation time. For any wood-based product, the floor needs to arrive several days before installation begins.
For an accurate project schedule, work backward from the date you need the room back in use. Add the full acclimation period, then the installation day or days, then the curing or settling time, then the furniture returns. Add a half-day buffer for subfloor preparation that is more involved than expected.
For multi-room hardwood flooring installation projects, particularly solid hardwood, consider working with an experienced professional installer. The investment in professional labor on larger projects is offset by faster completion, higher-quality results, and reduced risk of mistakes that require costly correction.
Plan the Time Right and the Floor Will Follow
How long does flooring installation take is never a one-size answer, but it is always a manageable one when you plan based on the actual requirements of your specific floor type and conditions. The most important principle is to never compress the preparation or acclimation phases to save time. Those phases exist because skipping them creates the problems that take far longer to fix than the time saved would have been worth. Build a realistic schedule and your installation will go smoothly from the first preparation step to the final trim piece.
For guidance on choosing the right installation approach for your specific floor type and subfloor conditions, visit Flooring Outlet & More and explore our full range of laminate flooring, engineered hardwood, solid hardwood, and luxury vinyl options alongside all the flooring installation materials you need to complete your project correctly.
Frequently Asked Questions
Q: How long does flooring installation take for a single room?
A: LVP can be completed in one day. Laminate takes 3 to 4 days including acclimation. Engineered hardwood takes 3 to 6 days. Solid hardwood takes 7 to 16 days. Subfloor condition and room complexity affect every timeline.
Q: Why does hardwood flooring installation take longer than vinyl or laminate?
A: Solid hardwood requires 5 to 14 days of acclimation before installation begins. The nail-down method also moves more slowly than click-lock floating systems. Engineered hardwood takes less time because acclimation is shorter and floating installation is an option for most products.
Q: What flooring installation materials affect how long the project takes?
A: Underlayment and moisture barrier installation adds 30 to 60 minutes. Adhesive spread and cure time adds 24 to 48 hours to glue-down projects. Transition strips and perimeter trim add 1 to 2 hours per room. Using the right materials from the start avoids reinstallation delays.
Q: Can I speed up acclimation time for hardwood flooring installation?
A: No. Acclimation cannot be safely rushed. Running the HVAC system at normal occupancy conditions helps ensure the room environment is stable and accurate, which makes acclimation as efficient as possible. Using a moisture meter daily confirms when the planks are ready so you do not wait longer than necessary.
Q: How long after installation of the floor can I move furniture back?
A: For floating LVP and laminate, 24 hours is standard before moving furniture back. For glue-down installations, wait the full adhesive cure period of 24 to 48 hours. For nail-down hardwood, 24 hours is typically sufficient. Always confirm cure times with the specific product and adhesive manufacturer guidelines.