Shop our best deals online.
Shop Now
Solid Hardwood Floor Repair Tips Every Homeowner Should Know
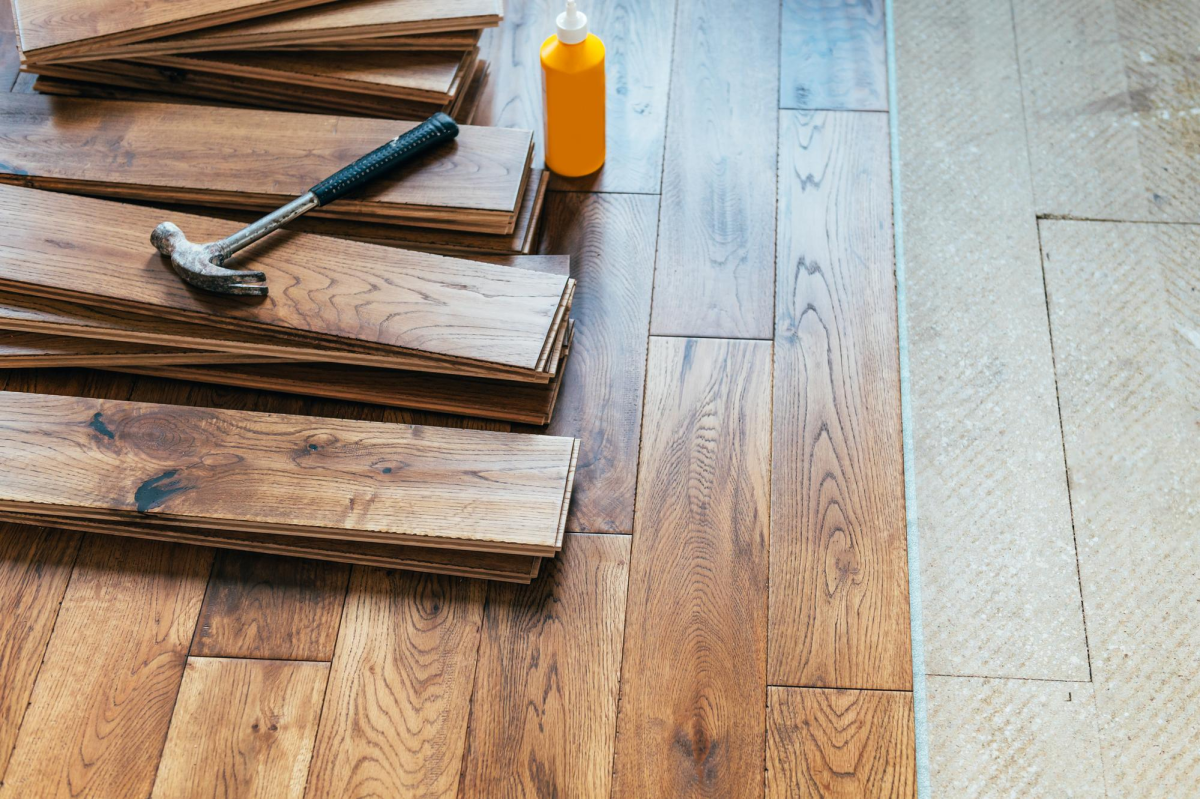
Table of Contents
- 1 What is Solid Hardwood Flooring?
- 2 1. Understanding the Most Common Hardwood Flooring Problems
- 3 2. Essential Tools for Solid Hardwood Floor Repair
- 4 3. How to Repair Minor Scratches and Scuffs
- 5 4. Repairing Deep Scratches, Dents, and Gouges
- 6 5. How to Address Water Damage Properly
- 7 6. Replacing Damaged Floorboards
- 8 7. Fixing Larger Areas of Wear or Discoloration
- 9 8. Searching for Hidden Causes of Damage
- 10 9. Preventing Damage After Repairs
- 11 Conclusion
- 12 FAQs
Every homeowner eventually faces scratches, dents, stains, or uneven boards, which is why learning the essentials of solid hardwood floor repair is important for preserving the beauty of your home. Hardwood floors are built to last for generations, yet they are still vulnerable to moisture, humidity changes, heavy furniture, and everyday wear. When problems appear, knowing how to address them properly helps you avoid costly mistakes and extend the life of your flooring. As you explore these helpful methods, you will gain the confidence to handle everything from minor blemishes to deeper structural concerns.
Because hardwood floors are natural wood products, they respond to environmental conditions, foot traffic, and accidental damage. Therefore, understanding how to manage solid hardwood floor repair lets you restore your flooring without replacing entire sections. Whether you are dealing with stains, warping, gouges, or uneven boards, the following guide will walk you through the most effective repair techniques and the tools needed for smooth results.
What is Solid Hardwood Flooring?
Solid hardwood flooring refers to flooring made from a single, solid piece of natural wood, typically sourced from hardwood trees like oak, maple, walnut, or cherry. Unlike engineered hardwood, which has a plywood or HDF core, solid hardwood is uniform throughout, offering strength and durability. It can be sanded and refinished multiple times to maintain its appearance, making it a long-lasting option. This type of flooring is ideal for areas with stable humidity and temperature, such as living rooms or bedrooms, and it adds a timeless, classic aesthetic to any home. However, it can be more vulnerable to moisture and humidity changes compared to engineered options.
1. Understanding the Most Common Hardwood Flooring Problems
Before repairing hardwood floors, it is important to identify the type of damage. Hardwood floors may show different issues depending on age, installation conditions, wood species, and maintenance habits.
Scratches and Surface Marks
Light scratches are common in homes with pets, kids, or heavy foot traffic. These surface marks usually affect only the protective finish rather than the wood itself. They can often be fixed with simple touch-ups, buffing, or applying fresh stain and finish.
Dents and Gouges
Heavier impacts such as dropped tools or furniture legs without protective pads can create dents or gouges. These issues penetrate deeper into the wood grain and typically require wood filler, sanding, and refinishing to restore the smooth surface.
Water Damage and Stains
Water spills, leaking appliances, and high humidity can cause discoloration, rising boards, or staining. When standing water sits on hardwood floors, it can seep into the wood fibers. If not addressed quickly, water damage can lead to mold or mildew and require more advanced drying with floor dryers or a wet dry vacuum.
Warping or Cupping
Warping happens when hardwood flooring absorbs more moisture on one side than the other. Cupping appears as the edges of boards rising higher than the center. In severe cases, the floor may require professional sanding or even replacement of affected boards.
Subfloor Problems
Sometimes the issue lies beneath the hardwood surface. Subfloor problems such as moisture, uneven surfaces, or improper installation can cause boards to move or buckle.
2. Essential Tools for Solid Hardwood Floor Repair
Good repairs start with proper equipment. Although some repairs are simple, having the right set of tools ensures clean results that blend seamlessly with the existing floor.
Recommended tools include:
- Putty knife
- Wood filler for dents or gouges
- Wood stain for matching the original tone
- Sandpaper of different grits
- Moisture meters to measure water levels
- Wet-dry vacuum for cleanup
- Floor dryers for preventing long-term moisture damage
- Pry bar and chisel for removing damaged boards
- Oscillating saws for precise cuts
- Finishing nails, nailset, and wood scrap for repairs
- Stain and finish for refinishing repaired areas
These tools make it possible to repair both minor and deep damage with professional precision.
3. How to Repair Minor Scratches and Scuffs
Minor scratches do not usually require sanding or replacement. Instead, homeowners can use simple touch-up techniques.
Cleaning the Area
Begin by cleaning the surface with a soft cloth to remove dust or debris. This prevents particles from embedding into the scratch.
Using Stain Markers or Blending Pencils
Most scratches on hardwood floors affect the finish, not the wood. In these cases, touch-up markers that match your floor color can mask imperfections effectively.
Polishing the Area
After applying stain, buff the area using a soft cloth. Then apply a thin coat of protective finish. This blends the repaired section with the rest of the floor.
Preventing Future Scratches
Using furniture pads, trimming pet nails, and keeping the surface clean helps prevent new marks. Simple habits significantly reduce the need for frequent repairs.
4. Repairing Deep Scratches, Dents, and Gouges
Deeper damage penetrates the wood fibers and requires more advanced repair steps.
Step 1: Clean and Assess the Damage
Clean the dented or gouged area to understand its depth. If the indentation is minor, steaming may raise the wood fibers; however, this works only on raw or unfinished spots.
Step 2: Apply Wood Filler
For deeper damage, fill the indentation with wood filler. Choose a shade that matches your hardwood floors or use a neutral filler and apply wood stain afterward to blend the repair.
Use a putty knife to smooth the filler. Once dry, sand gently to create an even surface.
Step 3: Reapply Stain and Finish
After sanding, apply wood stain to match the original tone. Then finish with a topcoat to seal the repair and restore protection.
5. How to Address Water Damage Properly
Moisture causes some of the most serious hardwood floor issues, including warping, cupping, swelling, and discoloration. Immediate action prevents long-term structural problems.
Drying the Area Thoroughly
Use floor dryers, fans, or a dehumidifier to remove moisture from the flooring. A wet dry vacuum helps remove standing water effectively.
Using Moisture Meters
A moisture meter is key to checking moisture levels within hardwood boards. Repairs should begin only when the floor returns to its normal moisture content.
Preventing Mold and Mildew
Water exposure increases the risk of mold, mildew, and rot. Thorough drying and proper ventilation prevent microbial growth.
Repairing Water-Damaged Boards
If boards show warping or cupping, sanding may restore them. Severe cases may require plank replacement.
You should also check out this guide on How to Care for Your Solid Hardwood Floors: Best Practices for Longevity.
6. Replacing Damaged Floorboards
When a board is beyond repair, replacement is the most effective option.
- Step 1: Identify and Mark the Damaged Board. Look for signs like deep gouges, severe warping, or structural weakness.
- Step 2: Cut and Remove the Board. Use an oscillating saw to cut the damaged board carefully. Lift it using a pry bar and chisel.
- Step 3: Install the New Board. Replace the damaged piece with a new one that matches the grain pattern. Secure it using finishing nails and a nailset.
- Step 4: Stain and Finish. Apply wood stain to match the surrounding boards and finish it for protection.
7. Fixing Larger Areas of Wear or Discoloration
Large sections of hardwood floors can lose color or shine over time. These areas can be restored with sanding and refinishing.
Sanding the Surface
Use a floor sander with the correct sandpaper grit sequence. Sand in the direction of the wood grain to avoid visible marks.
Applying Stain and Finish
After sanding, apply a fresh coat of stain to achieve a consistent tone. Then add the protective finish to restore the floor’s durability.
Reducing Humidity Damage
Maintaining stable indoor humidity prevents future discoloration or moisture problems. Using humidifiers or dehumidifiers helps hardwood stay stable.
8. Searching for Hidden Causes of Damage
Some damage points to deeper issues within the home.
Check for Subfloor Problems
Uneven subfloors can cause loose boards or squeaking. Resolving structural issues improves the performance of both solid hardwood and engineered hardwood flooring.
Test for Moisture Levels
Consistent moisture readings above normal indicate leaks or humidity imbalance. Addressing the source prevents future damage.
Control Indoor Humidity
Stable humidity protects hardwood from swelling, shrinking, or cracking.
9. Preventing Damage After Repairs
Once repairs are complete, thoughtful maintenance prevents future problems.
Use a Protective Finish
A fresh protective finish shields your hardwood from moisture, scratches, and stains.
Place High-Traffic Rugs
Rugs near entryways help minimize dirt, grit, and debris.
Clean with Proper Tools
Avoid excess water and use recommended cleaners only. A damp cloth or soft mop is ideal.
Maintain Balanced Humidity
Stick to recommended humidity levels to avoid warping and cupping.
Conclusion
Taking care of your solid hardwood flooring is essential to preserving its beauty and longevity. Whether you are tackling scratches, dents, water damage, or replacing damaged floorboards, the right approach and tools can restore your floors to their original condition.
If you’re unsure about handling repairs or if the damage is extensive, Flooring Outlet & More is here to help. Our expert team can guide you through the process, providing the highest-quality materials, repair kits, and installation support. For all your hardwood flooring needs, visit Flooring Outlet & More and ensure your floors remain stunning and durable for years to come.
FAQs
1. Can a solid wood floor be repaired?
Yes, solid wood floors can be repaired. For minor issues like scratches, use a wood stain or wood filler. Severe damage, such as gouges or water damage, may require plank replacement or sanding, but it’s usually fixable without replacing the entire floor.
2. How to repair badly damaged hardwood floors?
To repair severely damaged hardwood floors, start by removing damaged sections with a pry bar or oscillating saw. Replace with matching boards, secure with finishing nails, and apply wood filler and wood stain to blend in with the surrounding area.
3. Can you replace just a section of hardwood floor?
Yes, you can replace just a section of solid wood flooring. Carefully remove the damaged area with a putty knife or chisel, then fit in new planks. Wood stain and finish ensure the new section blends seamlessly with the existing floor.
4. Is it cheaper to repair or replace hardwood floors?
Repairing is typically cheaper than replacing hardwood floors. Minor repairs, such as scratch repair or wood filler, cost less than replacing entire planks or sanding. However, extensive damage, such as moisture damage or subfloor problems, may justify replacement.
5. What is the life expectancy of solid wood flooring?
Solid hardwood flooring can last 30–100 years or more, depending on maintenance, climate, and foot traffic. Regular care, such as cleaning, refinishing, and wood stain treatments, ensures the floor maintains its beauty and durability throughout its lifespan.


